Now we will use the host Mac Ubuntu VM to flash over and update the Jetson. Ensure that the Jetson is not plugged in. Shutdown the Ubuntu Virtualbox VM on your Mac, making sure its actually powered off and not on standby. Touch some metal to ensure you don't have static charge on you, then connect the Jetson Micro-USB port and your laptop's USB-c port. Note that the Jetson can be quite sensitive to which USB cable you use for the Jetson Micro-USB to Mac USB-c port. Ultimately I had to use the black cable with a tiny NVIDIA green icon on it that came with the Jetson (not the white adapter one) for this all to work:
Now, we will start up the Ubuntu VM on the Mac laptop, but we need to make sure it can actually get access to the USB-connected Jetson. Before you start up the Ubuntu VM, for that VM in Virtualbox go to Settings -> Ports -> USB, and click Add new USB filters with all ...., then add NVIDIA Corp. APX. Then, go to the VM, click the bottom right corner button with the shape of a USB port and select NVIDIA Corp. APX. You won't need to remove other USB devices from your Mac; I was able to get everything working fine with all my other USB devices (webcam, keyboard, etc.) plugged in.
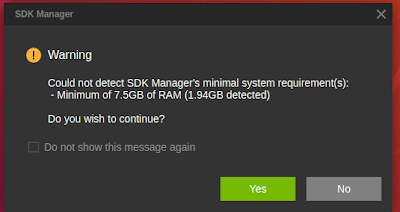
Once the Ubuntu VM is started again on the host Mac, double click the NVIDIA SDK Manager install again. Note that if you get a warning like the following you can just ignore it; just press Yes:
Once you continue with the NVIDIA SDK Manager install, you should now see that the Jetson TX2 is detected. At some point you will be prompted on the Jetson developer board's external monitor to continue installation. Go through that full flow on the Jetson itself until you get to the Jetson's login screen, then go back to your Mac's Ubuntu host VM.
We will have to repeat the entire flow above, but we have now made the Mac's Ubuntu VM aware of the second USB driver (NVIDIA Linux for Tegra). Put the device back into Force Recovery Mode by following the earlier instructions about which red buttons to push on the Jetson development board, start the Mac's Ubuntu VM again, and click back into the NVIDIA SDK Manager to restart the whole install flow. Once you do the device OS setup on the Jetson and get its sign in window, you should now be able to go back to your Mac host Ubuntu VM, enter your credentials, and the host VM will "push over" more of the Jetpack install.
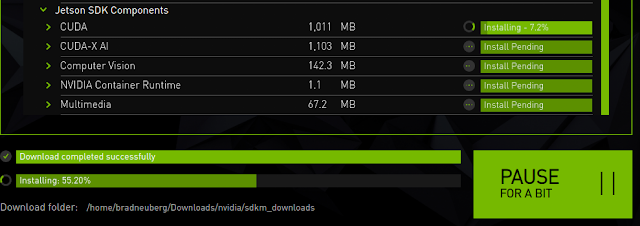
It will take awhile to install everything.
Once its installed, go back to your Jetson and confirm things installed correctly by opening a terminal on the external Jetson's monitor and run the following:
# Validate NVCC
nvcc -V
# Validate CUDA
ls /usr/local | grep cuda
Back on the Mac's Ubuntu VM, pin the Terminal application to make it quicker to access -- click the dots in the lower left corner of Ubuntu's UI, search for Terminal, then start it. Once it's running you will see the Terminal app in the Ubuntu app switcher. Command-Click with your Mac mouse on the Terminal icon to simulate a right click and select Add to Favorites to pin it.
Turn off the screenlock in the Ubuntu install on your Jetson or else it will get annoying; do this by going to Settings then Brightness & Lock then turning it off.
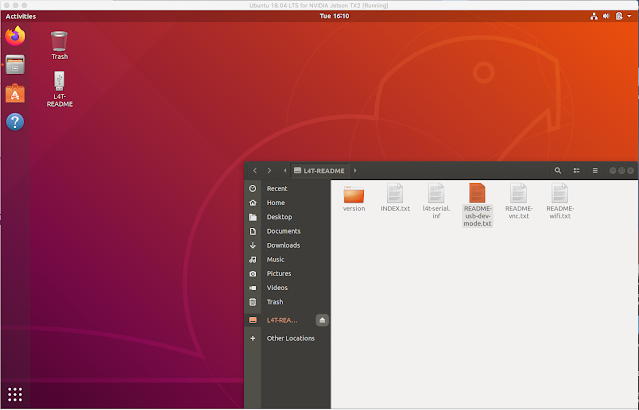
On your host Mac's Ubuntu VM, you will see an L4T-README directory that is exported via the Jetson USB connection. Double-click this to see some README files that are somewhat useful to read and know about:
Getting a Development Workflow Working with SSH and VNC
The best dev workflow is to SSH directly from your Mac laptop into the Jetson itself, with the Jetson connected via an Ethernet connection to your Internet router/switch. This means you won't have to use either the Ubuntu VM on the Mac or a direct USB connection to the Jetson development board.
Find the local IP address of your Jetson by using the external monitor and keyboard of the Jetson, open a terminal, then use the ifconfig command. Search for eth0 in the output, then get the IP address from that. Then, go back to your Mac (not the Mac's Ubuntu VM), open a terminal, then SSH to this IP address. You will be prompted to enter your Jetson password; you will now be dumped into an SSH shell on your Jetson. Congrats!
To prevent having to re-type your password constantly when you SSH or SCP from your Mac to the Jetson board, type the following via the Jetson's external monitor and keyboard into a terminal:
mkdir -p ~/.ssh
On your Mac laptop outside of the Ubuntu VM, do the following:
export USERNAME=<change to your Jetson's username>
export JETSON_IP=<change to eth0 IP address>
scp ~/.ssh/id_rsa.pub $USERNAME@$JETSON_IP:./.ssh/authorized_keys
At this point you can power down the Jetson, power down the Mac's Ubuntu VM, unplug the Jetson to ensure no static electricity hits the development board, touch some metal to discharge static electricity, then unplug the Jetson's USB from your Mac laptop. Now, power the Jetson back up and just use the eth0 IP address to SSH from your Mac into the Jetson itself. You don't even have to sign into the external monitor on the Jetson itself. Example SSH command:
export USERNAME=<change to your Jetson's username>
export JETSON_IP=<change to eth0 IP address>
ssh $USERNAME $JETSON_IP
In your SSH session on your Mac, install a few useful things:
sudo apt install -y tmux htop curl vim less
You will want to change the default Ubuntu sudo timeout, which is very short and which can get quite annoying in your Jetson development. To do so, run:
sudo visudo
This will open a configuration file that has the following existing line:
Change this to be the following:
Defaults env_reset, timestamp_timeout=XX
Where XX is the timeout in minutes. I've set that to 300 (or 5 hours) in my own sudo settings.
By default python3 is installed; make sure pip3 is installed as well:
sudo apt install python3-pip -y
You will have to restart your Jetson after installing this:
sudo shutdown -r now
You can use the tegrastats command when SSHed into the Jetson to get CPU/GPU/thermal/power details (the Jetson does not have the common nvidia-smi command, using tegrastats instead).
sudo -H pip3 install -U jetson-stats
Some example commands you can run after installing this (note that you do not have to use sudo for these): jtop, jetson_config, jetson_release.
To setup VNC between your Mac host and the Jetson, do the following. First, SSH into your Jetson and run the following:
sudo apt update
sudo apt install vino
# Configure auto-login with GDM3. Open “/etc/gdm3/custom.conf” and uncomment or change the following lines:
AutomaticLoginEnable=true
AutomaticLogin=nvidia
# Set up the VNC server for the user you wish to log in as. When you run "vncserver" for the first time on your Jetson, it will ask you to set a password. Just use the same password as your primary Jetson account for simplicity. Select NO when prompted if you want a view only password.
# Enable the VNC server to start each time you log in
mkdir -p ~/.config/autostart
cp /usr/share/applications/vino-server.desktop ~/.config/autostart
# Configure the VNC server
gsettings set org.gnome.Vino prompt-enabled false
gsettings set org.gnome.Vino require-encryption false
# Replace thepassword with your desired password, the same as your Jetson account
gsettings set org.gnome.Vino authentication-methods "['vnc']"
gsettings set org.gnome.Vino vnc-password $(echo -n 'thepassword'|base64)
# Make sure we get close/minimize/maximize settings, which you will get when you hover over the window titlebar
gsettings set org.gnome.desktop.wm.preferences button-layout "close,minimize,maximize:"
# Reboot the system so the settings take effect
sudo reboot
On your Mac laptop, start an SSH proxy for VNC:
export USERNAME=<change to your Jetson's username>
export JETSON_IP=<change to eth0 IP address>
ssh -L 5900:127.0.0.1:5900 -C -N -l $USERNAME $JETSON_IP
Now use a Mac VNC client, such as
VNC Viewer, to sign into the eth0 IP address at the 5900 port.
Inside of a VNC session on your Jetson, if you have an Ubuntu Terminal open, you can open a new terminal tab by pressing Shift-Control-T.
Note that at this point you can choose to boot your Jetson TX2 in the future without a keyboard or external monitor. It will boot up as normal -- wait a few minutes then you can SSH in. Surprisingly, even VNC will work fine without an external monitor hooked up!
Use Jetson From Outside Local Network
The flow above only allows you to SSH into your Jetson from within your immediate local area network, since the eth0 address you've been using so far is a private address. If you want to sign in and develop from outside your network, or allow colleagues to also develop on your Jetson, you need to securely make it possible to access the Jetson from outside your network. Please be conscious of the security ramifications of doing this.
You will need to use port forwarding to do this. Before you setup the port forwarding, you will need to ensure you have a stable external IP address. If you don't, you will have to use a dynamic DNS service. I used
no-ip.com using their free option and will document how to set it up.
In a VNC session on the Jetson, use a web browser to navigate to
https://noip.com/download to download their dynamic DNS updater for Linux. This will compile and install a
noip2 command line tool:
tar -zxvf noip-duc-linux.tar.gz
cd noip-duc-linux
make
sudo make install
# Make sure the command is present; if not copy it there.
ls /usr/local/bin/noip2
sudo chmod a+x /usr/local/bin/noip2
To make sure noip2 starts on system startup, get a systemd script running. Run the following commands in your SSH session on the Jetson:
# Generate configuration file
sudo /usr/local/bin/noip2 -C
# Add the following systemd script
sudo cat >> /etc/systemd/system/noip2.service <<EOL
[Unit]
Description=No-ip.com dynamic IP address updater
After=network.target
After=syslog.target
[Install]
WantedBy=multi-user.target
Alias=noip.service
[Service]
# Start main service
ExecStart=/usr/local/bin/noip2
Restart=always
Type=forking
EOL
# Restart and enable systemd services
sudo systemctl daemon-reload
sudo systemctl enable noip2
sudo systemctl start noip2
# Make sure everything is running fine
sudo systemctl status noip2
Now we will setup port forwarding for SSH, to "poke" a hole in the external router to allow inbound connections to the Jetson. You will have to look at details for your particular home router on how to this. For my own router, a LinkSys router, I used the
following instructions. I went to
192.168.1.1 to get the router admin screen. Note that its important that you
DO NOT use the default SSH port 22 as your external port for security reasons, but choose a random port. In the example admin screenshots below private details, such as the external SSH port chosen, have been fuzzed out.
Now to SSH from a computer outside of your local network:
export USERNAME=<Jetson user account name>
export DYN_HOST_NAME=<Dynamic DNS name from noip.com, such as foobar.hopto.org>
export EXTERNAL_SSH_PORT=<The random external SSH port you chose, such as 301>
ssh $DYN_HOST_NAME -p $EXTERNAL_SSH_PORT
Here's how you can use SCP to copy something over:
scp -P $EXTERNAL_SSH_PORT $USERNAME:/some/path/file.txt .
Example usage of RSYNC:
rsync -Pavz -e "ssh -p $EXTERNAL_SSH_PORT" . $USERNAME@$DYN_HOST_NAME:~ --exclude .git
In order to now VNC over this external SSH connection, run a local SSH proxy for the VNC session:
ssh -L 5900:127.0.0.1:5900 -C -N -l $USERNAME -p $EXTERNAL_SSH_PORT $DYN_HOST_NAME
Use a VNC client on your Mac to connect to localhost:5900.
Mount External SSD
The Jetson TX2 has a 32GB eMMC flash storage; however, this can get full very quickly, especially if you are experimenting with multiple Docker containers being available or having large amounts of machine learning oriented data.
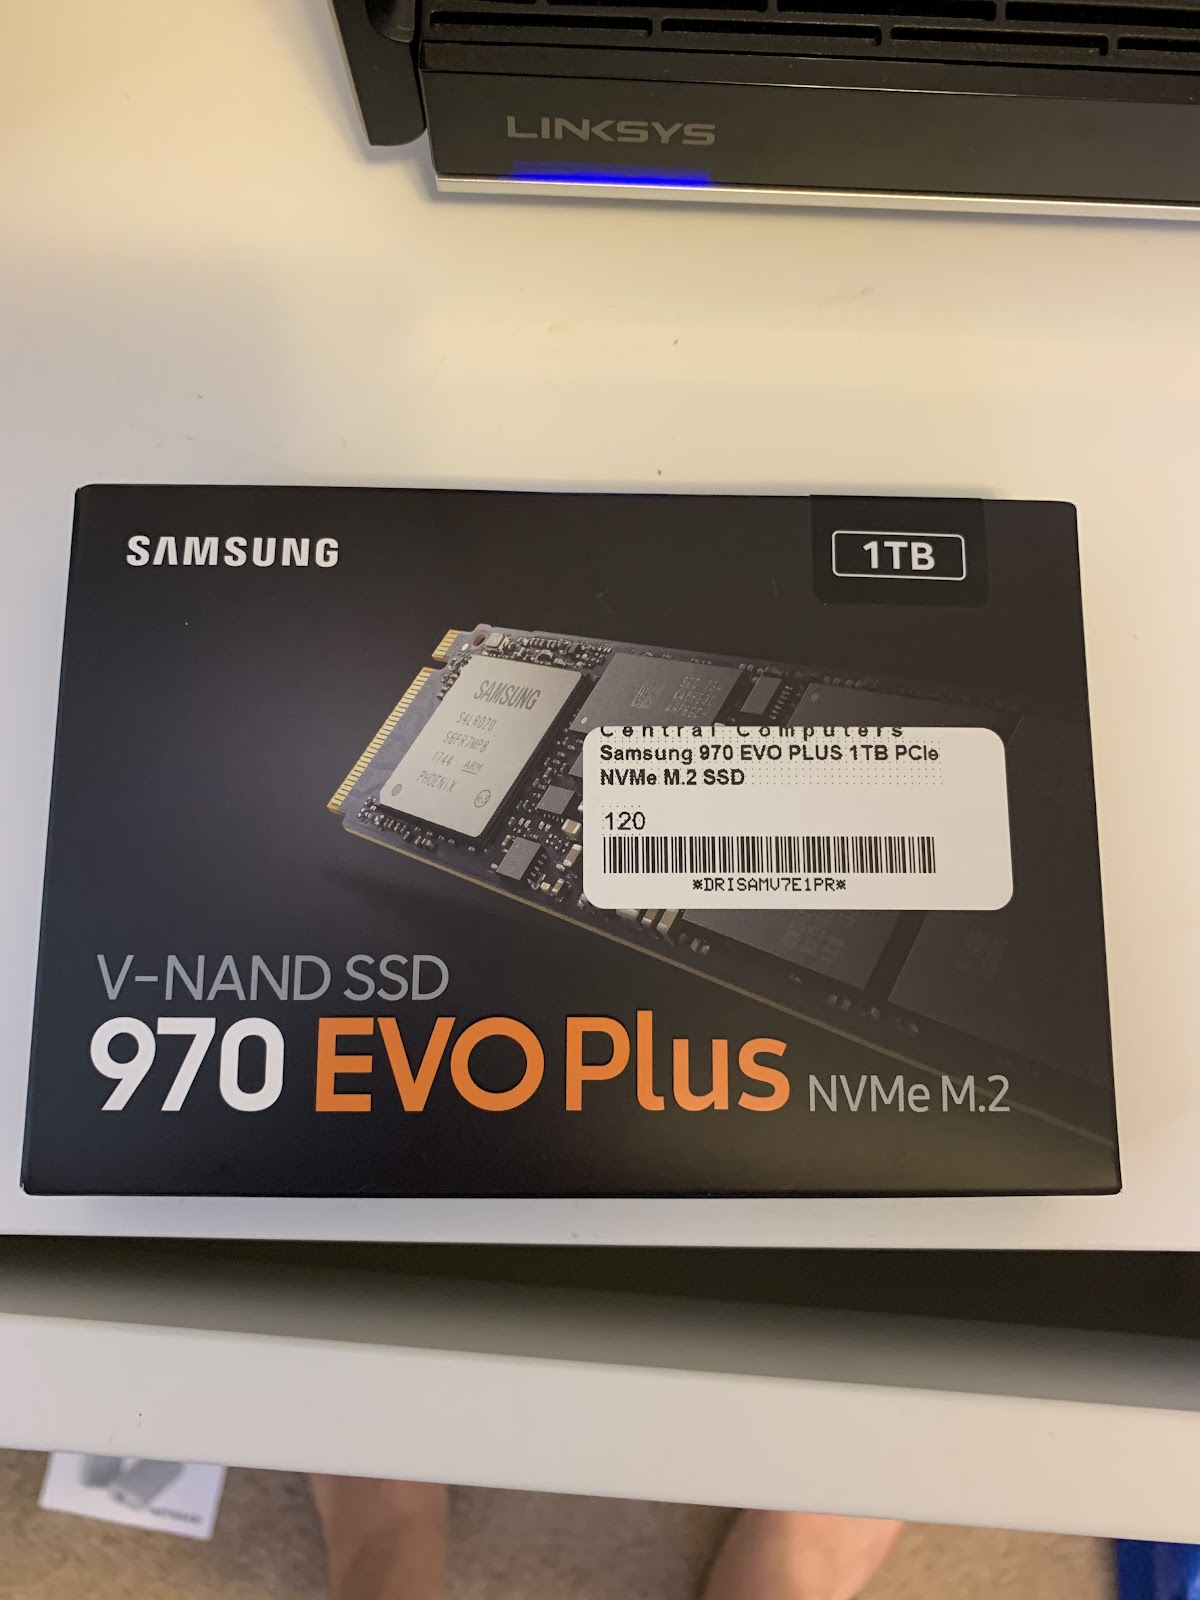
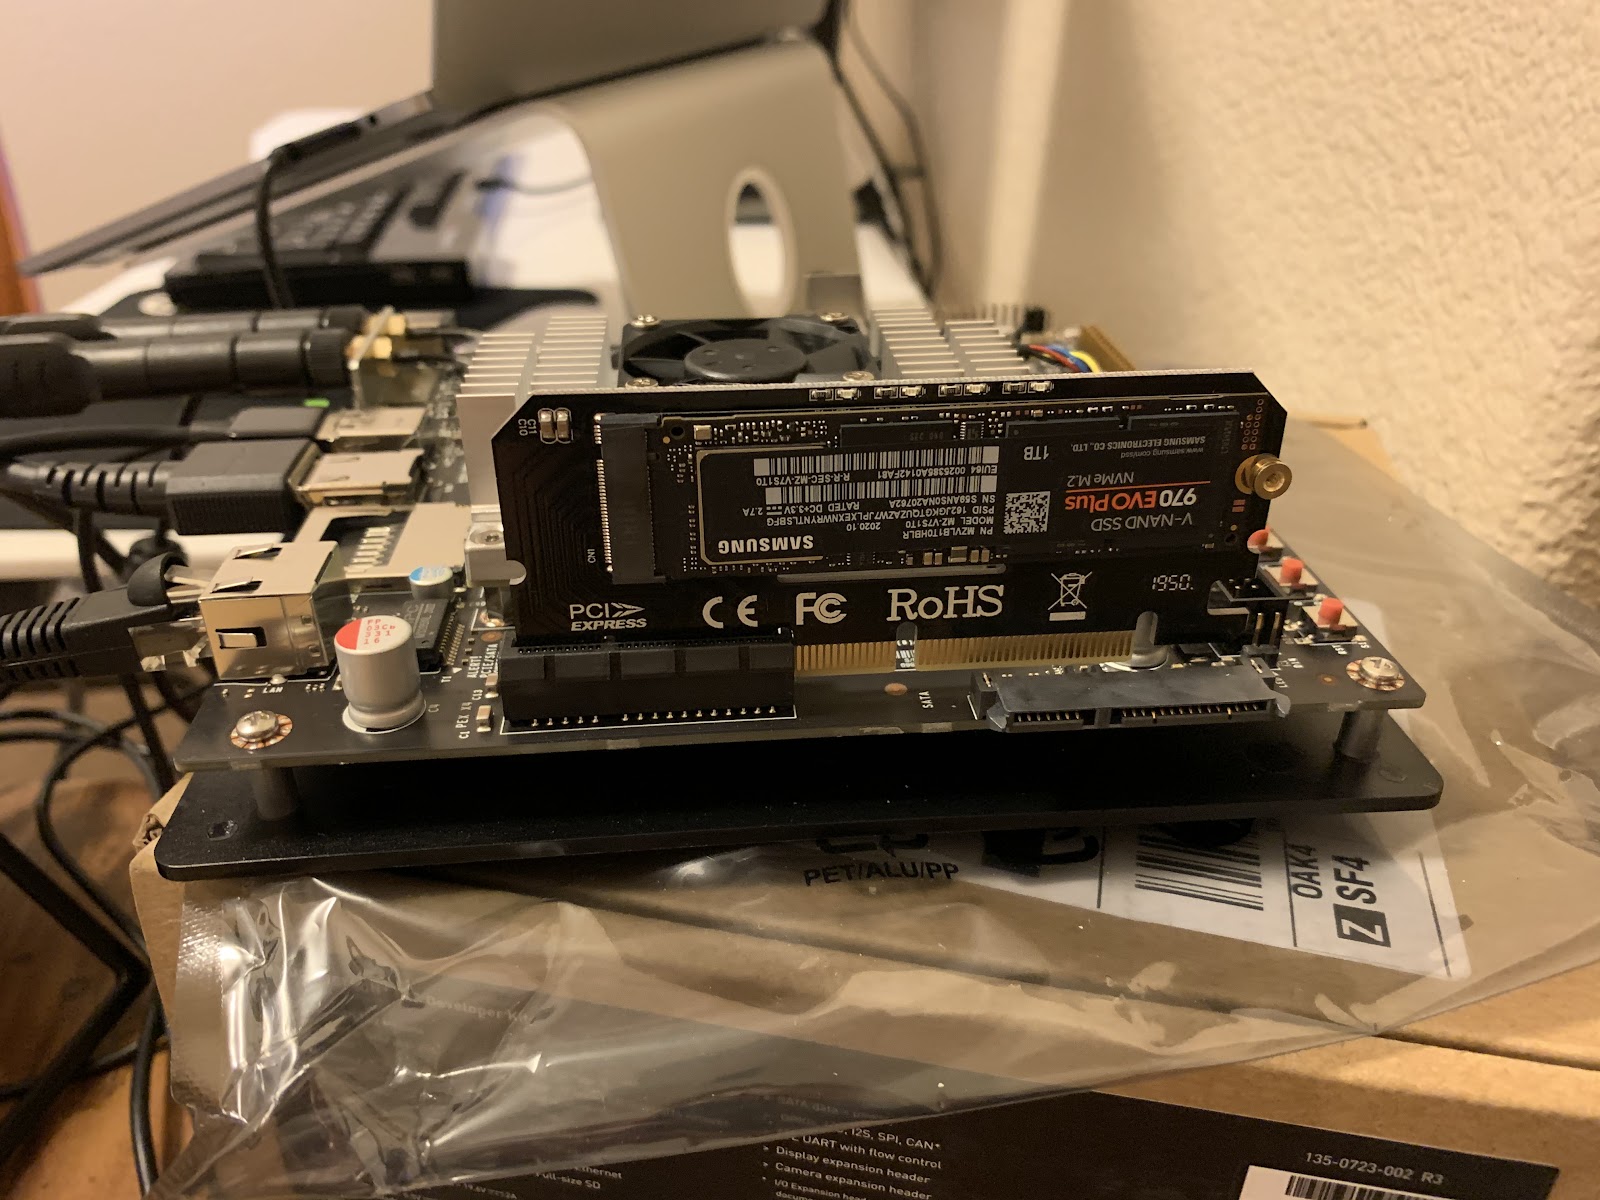
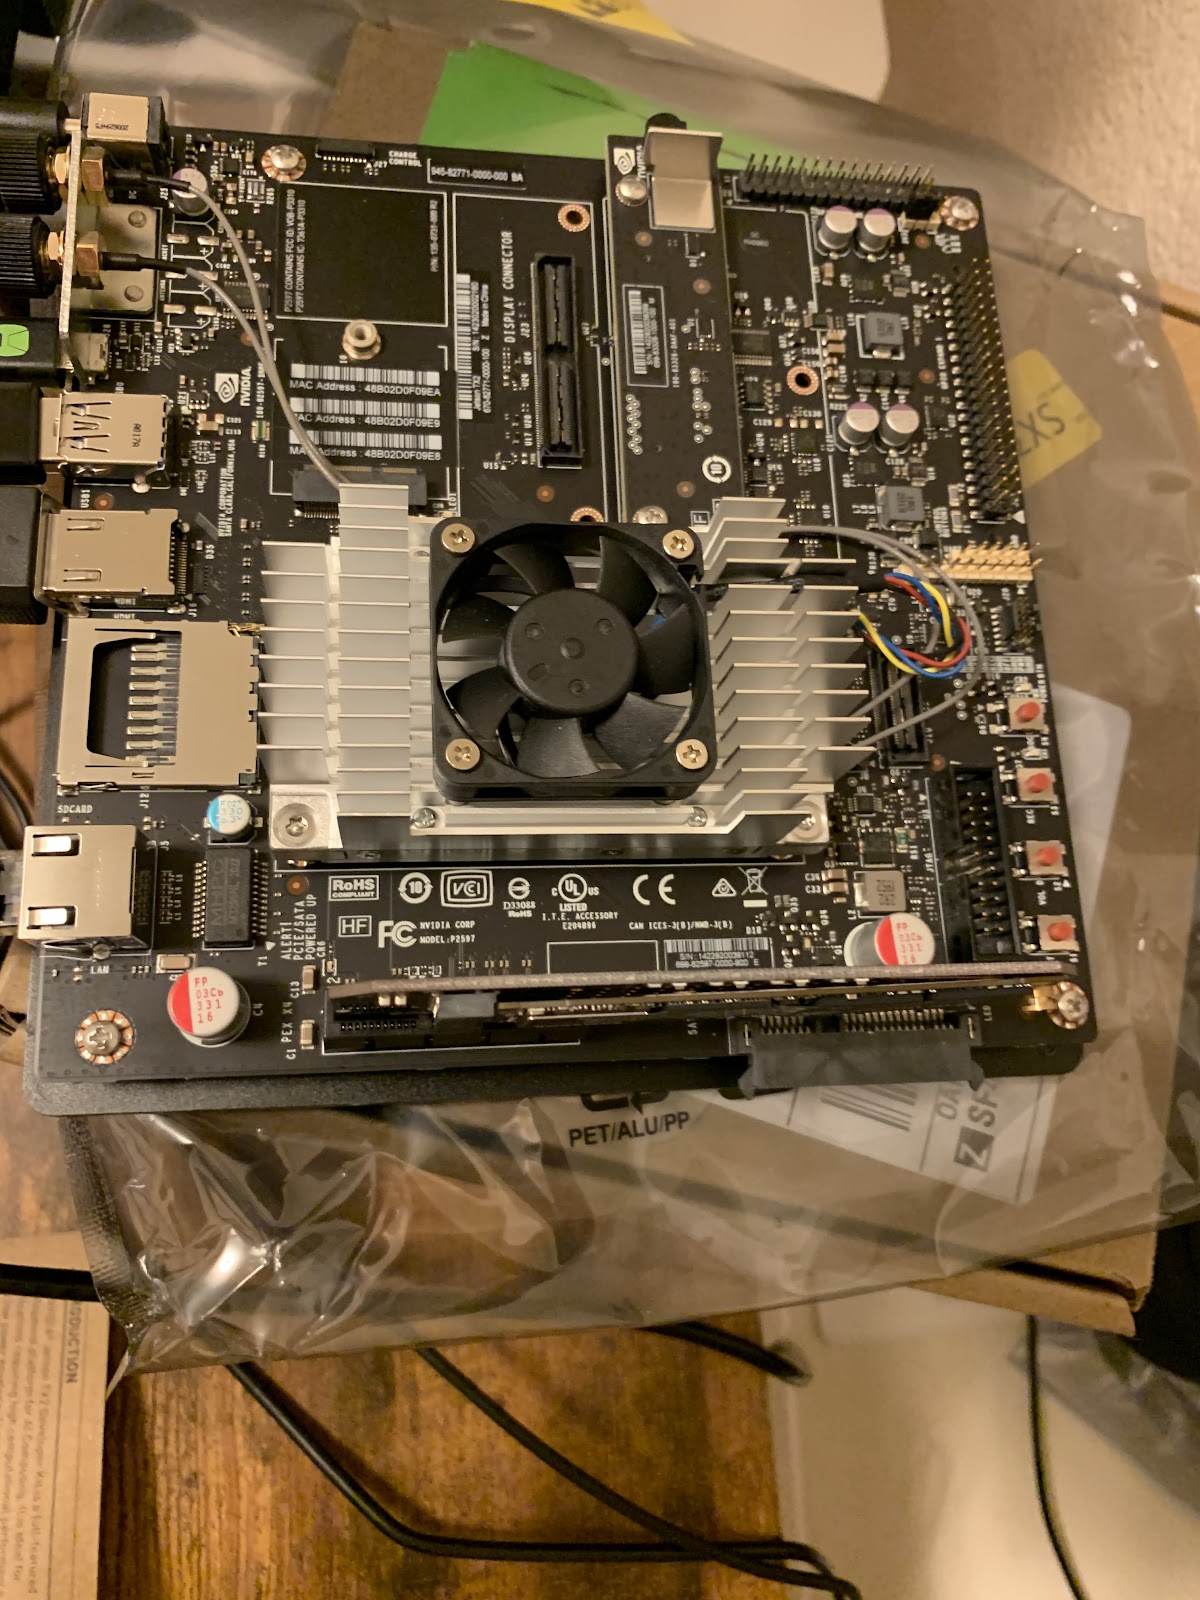
This section documents how to install an NVMe SSD drive onto the Jetson board. The Jetson has an M.2 connector, which is normally used for attached SSD drives, but the Jetson's M.2 connector is a type "Key E" port and is therefore not compatible with SSD drives. Instead, we will use the Jetson's on-board PCIe Gen2 x4 connector with an M.2 adapter. PCIe Gen2 x4 has a max IO of 2 GB per second, so it can keep up with NVMe drives (be careful not to purchase an NVMe drive that is faster than 2 GB/s, or else you will just be wasting money on a drive that is faster than the PCIe Gen2 x4 connector on the Jetson can accommodate).
Here are both put together and mounted onto the Jetson board (remember to unplug the Jetson and ground any static electricity on yourself before mounting these items!):
Once the machine is restarted, SSH back into the Jetson and compile and mount the SSD drive:
# SSD should show up as nvme0n1 on this command:
lsblk
# Format the drive
sudo mkfs.ext4 -F /dev/nvme0n1
sudo mkdir -p /mnt/disks/ssd
sudo mount /dev/nvme0n1 /mnt/disks/ssd
# Make sure the new drive shows up here:
df --h
# Let everyone access it
sudo chmod a+rxw /mnt/disks/ssd
# Automount the disk on startup
echo UUID=`sudo blkid -s UUID -o value /dev/nvme0n1` /mnt/disks/ssd ext4 discard,defaults,nofail 0 2 | sudo tee -a /etc/fstab
cat /etc/fstab # Make sure the new line shows up correctly
# Benchmark to see how the IO is
sudo apt install hdparm
for run in {1..3}; do sudo hdparm -Tt /dev/nvme0n1; done
# Example output, pretty good IO for reads:
/dev/nvme0n1:
Timing cached reads: 3898 MB in 2.00 seconds = 1950.98 MB/sec
Timing buffered disk reads: 2834 MB in 3.00 seconds = 944.28 MB/sec
/dev/nvme0n1:
Timing cached reads: 3730 MB in 2.00 seconds = 1867.07 MB/sec
Timing buffered disk reads: 3050 MB in 3.00 seconds = 1016.14 MB/sec
/dev/nvme0n1:
Timing cached reads: 3892 MB in 2.00 seconds = 1947.68 MB/sec
Timing buffered disk reads: 2856 MB in 3.00 seconds = 951.78 MB/sec
# Do daily trimming of the SSD (TRIM garbage collection) to keep performance tip-top
sudo mkdir -v /etc/systemd/system/fstrim.timer.d
sudo touch /etc/systemd/system/fstrim.timer.d/override.conf
sudo vim /etc/systemd/system/fstrim.timer.d/override.conf
# Add the following into the document (note the double entries for OnCalendar is intentional!)
[Timer]
OnCalendar=
OnCalendar=daily
# Save and reboot. Confirm TRIM is correct, ensuring the new override is at the bottom:
systemctl cat fstrim.timer
# At any point you can run the following to ensure TRIMing actually has happened; probably
# won't show anything the first time.
journalctl | grep fstrim.service
# Force trim manually - might last for minutes, just be patient
sudo fstrim -av
# Configure Docker to store all of its images and containers on the SSD
sudo docker version # Make sure Docker reports its running
sudo service docker stop # Now stop it
sudo vim /etc/docker/daemon.json
# Make sure this JSON file has the following new "data-root" property:
{
"runtimes": {
"nvidia": {
"path": "nvidia-container-runtime",
"runtimeArgs": []
}
},
"data-root": "/mnt/disks/ssd/docker"
}
# Save and exit
mkdir -p /mnt/disks/ssd/docker
# Copy current data over to new path
sudo rsync -aP /var/lib/docker /mnt/disks/ssd/docker
# Temporarily rename old location for sanity check
sudo mv /var/lib/docker /var/lib/docker.old
# Restart docker
sudo service docker start
# Make sure the following two commands run without error
sudo docker image ls
sudo docker container ls
# Now you can remove the old data
sudo rm -rf /var/lib/docker.old
sudo docker image prune -a -f
# Move all home directories to SSD
mkdir -p /mnt/disks/ssd/home
sudo rsync -aXS /home/. /mnt/disks/ssd/home/.
sudo mv /home /home_old
ls /mnt/disks/ssd/home # Make sure everything is there
sudo ln -s /mnt/disks/ssd/home /home
ls -al / # Make sure the symbolic link is correct
sudo rm -fr /home_old
Example Machine Learning Package Installation
The Jetson has an ARM CPU, so you will have to compile most Python packages yourself for the ARM architecture since there are most likely no ARM pip wheels available. In the example commands below, we setup a virtualenv, Python 3.6, and compile and install several common geospatial and machine learning packages on the Jetson.
# Make sure various apt tools are available
sudo apt-get install -y software-properties-common
# Setup a Python 3 virtualenv
sudo apt-get install python3-venv
python3 -m venv test-arm-compile
source test-arm-compile/bin/activate
python --version # Should be 3.6.9
# Make sure certain Python dev files are available for later compilation dependencies.
sudo apt-get install python3.6-dev
pip install wheel
# Make sure Cython is available, which is a Numpy dependency.
pip install cython
python -c "import cython" # Make sure this runs without error
# Install numpy; print out detailed info during compilation as it can take awhile.
pip install numpy -v
python -c "import numpy as np; print(np.array([2, 3, 4]))" # Make sure runs without error
# Install various geospatial ecosystem libraries
sudo add-apt-repository ppa:ubuntugis/ppa
sudo apt-get install gdal-bin libgdal-dev python-gdal --yes
pip install rasterio -v
# Install OpenCV
sudo apt install python3-opencv
pip install --upgrade pip
pip install opencv-python-headless -v
python -c "import cv2; print(cv2.__version__)" # Should print out a version number, like 4.4.0
Appendix
Thanks to the following guides which were used for some of the details creating this HOWTO:


 Select the new resolution from the dropdown -- note that part of it will be cut off.


Comments